Are you looking for a way to sharpen your tools without spending a fortune? Look no further than making your sharpening stone! With just a few basic materials and some elbow grease, you can easily craft a set of sharpening stones that will last for years.
Not only will you save money, but you’ll also get the desired results. So, what are you waiting for? Get ready to learn how to make a sharpening stone and get your tools back in shape!
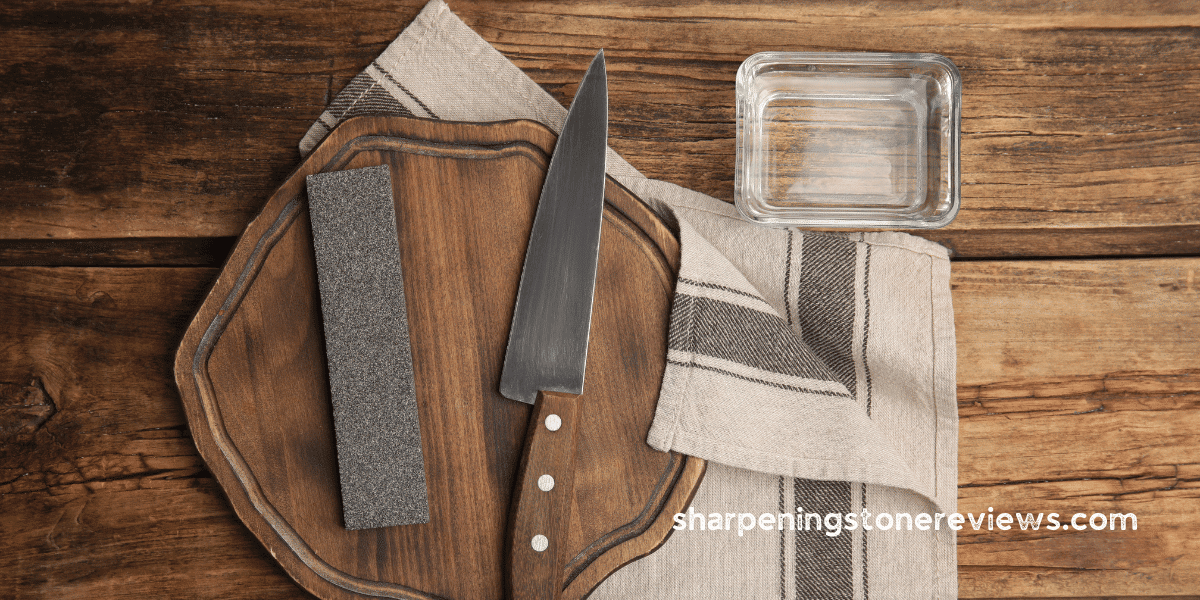
Materials Needed
To make sharpening stones, you’ll need the following materials:
- Tiles
- Acetone
- Sandpaper of different grits
- Spray adhesive
- An old rag
- A cutting board
- An Xacto knife
- Heavy objects to hold the stones in place
You can find all of these items in any hardware store. Gathering everything before you start is important, as you will need them to make the stones.
To sharpen a knife effectively, maintaining a consistent angle is crucial. Having the right tools and materials is key to achieving this. Once you have everything in hand, you’ll be ready to make your sharpening stones quickly!
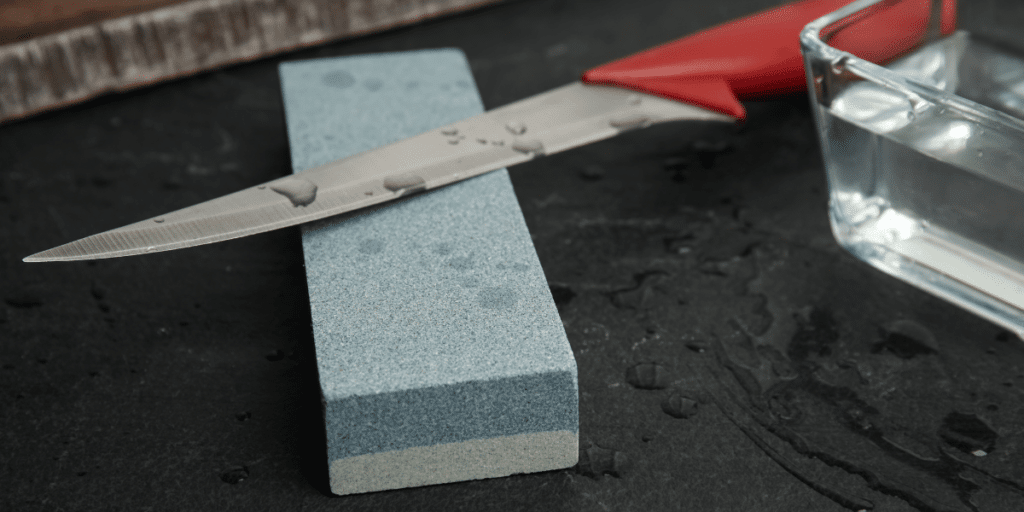
Preparing the Stone
Preparing the stone is a simple process that requires a few materials. Gather a tile, sandpaper, and adhesive before you begin. Start by cleaning the tile’s surface with a cloth soaked in acetone. Cut the sandpaper to size, leaving a slight overhang. Apply adhesive to the tile and carefully glue the sandpaper in place. Take your time and allow the adhesive to dry for 15-20 minutes. Once the adhesive is dry, you will have your sharpening stone. Whether you prefer a water or oil stone, this process can be used for both. Now, you can enjoy honing your blade with ease!
Applying the Grit
Gently spray adhesive onto the tile and place the sandpaper on top with the overhang lined up correctly.
This is an essential step in the sharpening process, as it determines the size and shape of your whetstones. Your instructions should explain the importance of precision when cutting the sandpaper and applying the adhesive.
Ensuring that the sandpaper edges are correctly lined up is vital, as this will determine how well your grit stone will perform during the sharpening process.
Take your time and ensure the sandpaper is securely attached to the tile before continuing.
Finishing the Surface
Once the sandpaper is securely attached to the tile, it’s time to finish the surface. To ensure a smooth and flat sharpening stone, follow these steps:
- Take your sharpening stone and ensure it’s as smooth and flat as possible.
- To achieve this, use mineral oils, silicon carbide, and a paper towel.
- Apply a few drops of mineral oils on the surface and spread it evenly.
- Rub the silicon carbide over the surface in a circular motion.
- To eliminate leftover oils, use a paper towel to clean the surface.
- Check if you have a flat surface before continuing.
- Polish the surface with a piece of leather for a smooth finish.
You can create a professional-looking sharpening stone with suitable materials and techniques in no time.
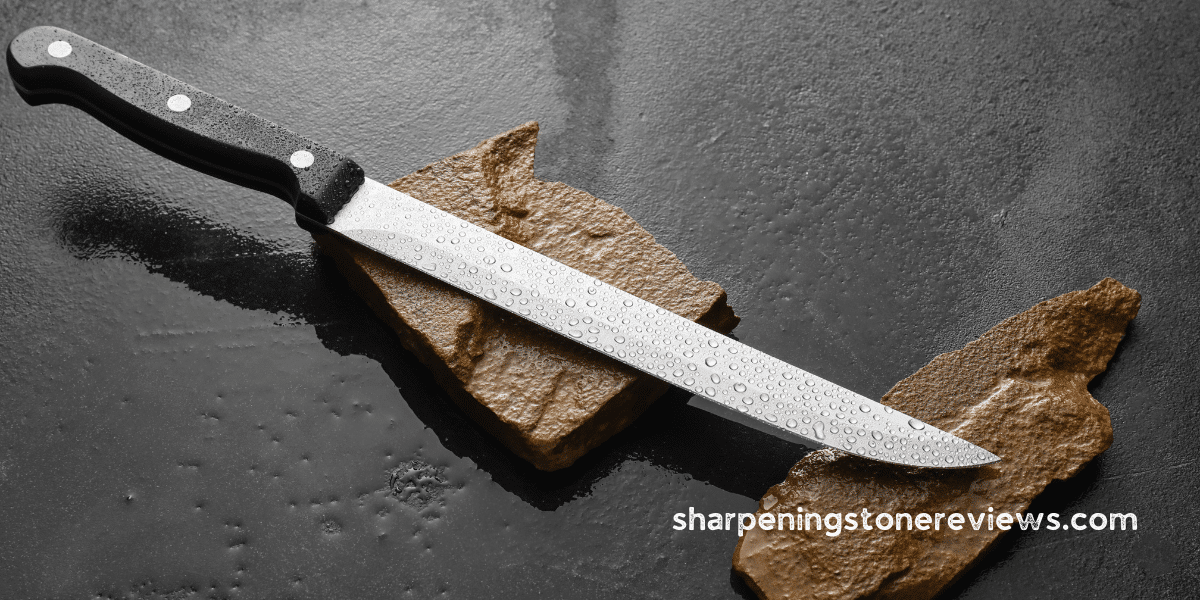
Testing the Stone
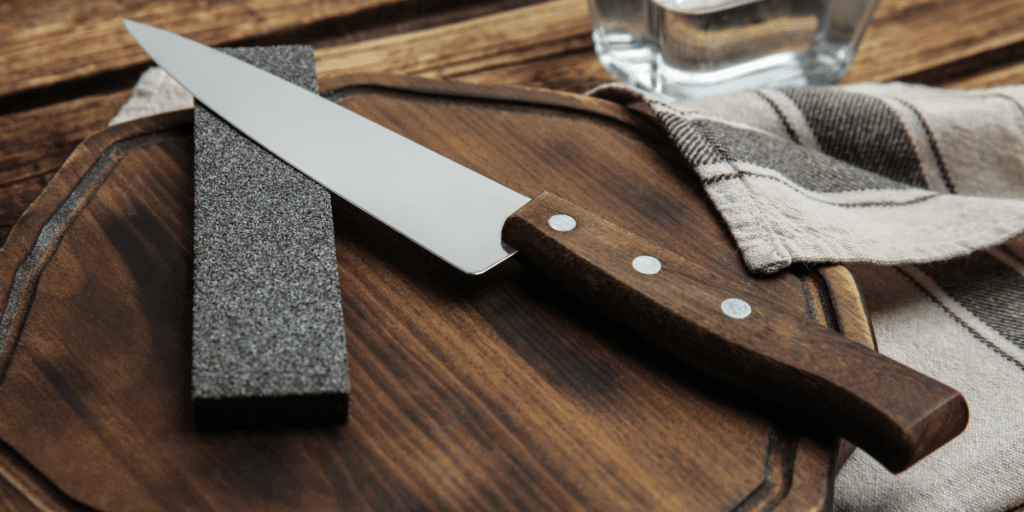
Now it’s time to test your hard work – let’s see if your stone is ready to sharpen! Grab your dull knife and steel. Place your sharpening stone on a towel and make sure it’s stable. Hold your knife at a 20-degree angle and run it up and down the stone. You should feel it getting smoother with each pass. To compare, try a few strokes on a diamond stone. If you can feel a difference, your stone is ready to use.
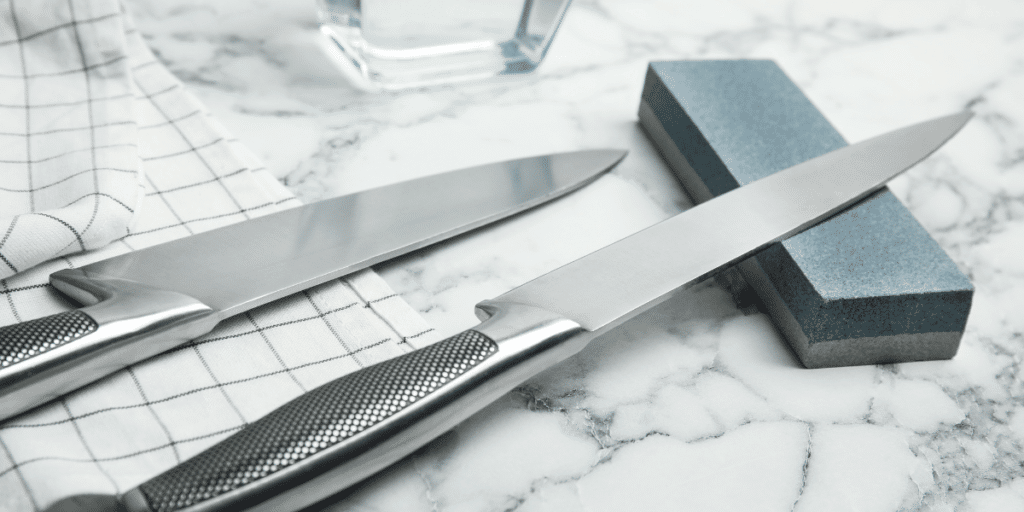
Caring for the Stone
Properly caring for your sharpening stone will ensure it lasts for many uses. Natural stones should be stored in a cool, dry place away from direct sunlight. If the stone is wet stone, it should be stored in a container with a small amount of oil or water.
Be sure to read the instructions in the manual regarding the proper care of your stone. To clean the stone, you can use either a piece of leather or a piece of wood. Wipe down the stone after each use to keep it in good condition.
Natural stones should be treated with oils or waxes to keep them in their best condition. Inspecting the stone often for any signs of wear and tear is also essential.
Keeping your sharpening stone in proper condition will make it last for many years to come.
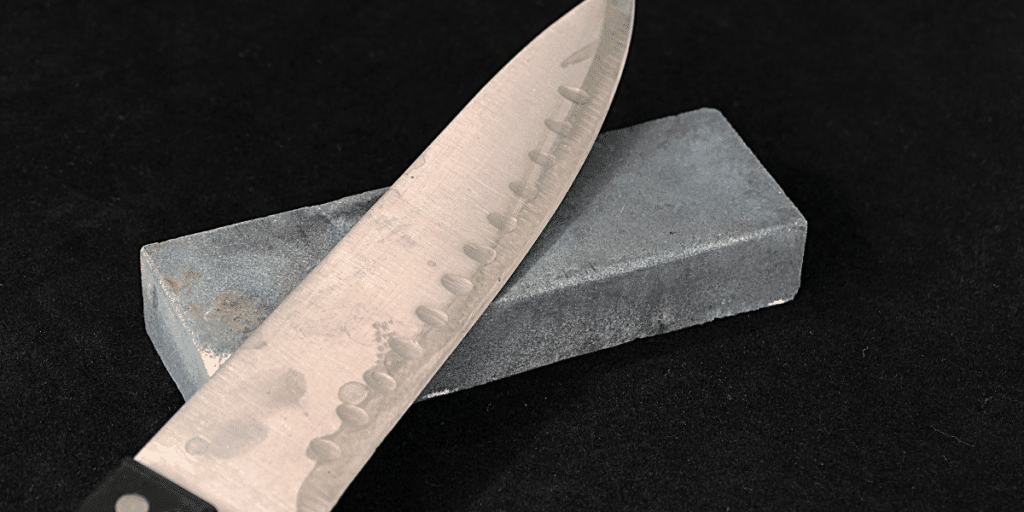
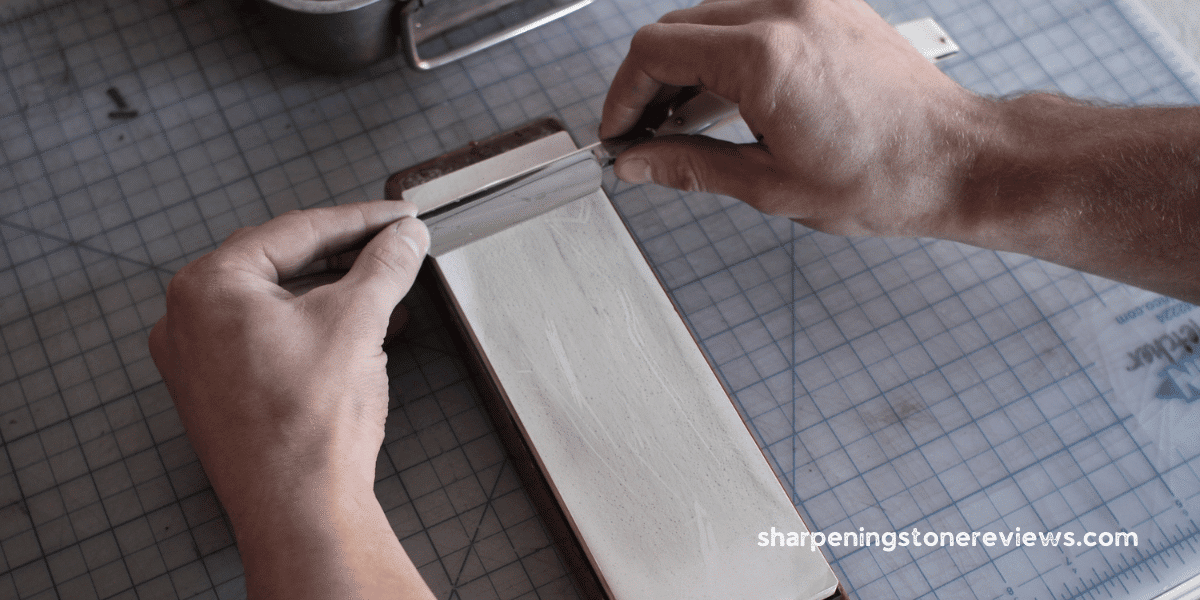
Sharpening with the Stone
To sharpen your tools with a sharpening stone, it is essential to have patience and a steady hand. Although it may take some effort, the results are worthwhile. Here’s what you need to know to get started:
Materials
- Japanese Water Stones
- Natural Sharpening Stone
- Stone Grit
- Electric Knife Sharpeners
- Kitchen Knives
Technique
- Select the correct stone grit for the job
- Hold the blade at the right angle
- Use even pressure and draw the blade across the stone
- Work on both sides of the blade
- To achieve a sharp edge, use a honing steel or an electric sharpener.
You can swiftly and effortlessly sharpen your kitchen knives and other tools using a sharpening stone with a few simple steps.
Frequently Asked Questions
What is the best way to store a sharpening stone?
Store your sharpening stone in a dry place, away from direct sunlight. Wrap the stone in a clean cloth or put it in a box to keep it safe. Avoid dropping the stone or letting it rub against other objects. Take extra care to keep it free from dirt and debris.
What kind of blade should I use for sharpening?
Surprise your audience with an unexpected use of a blade! For sharpening, a high-quality knife works best; it will give you a precise, even edge. Use honing steel regularly to maintain the blade’s sharpness. Enjoy your sharpening session with confidence!
Are there any safety precautions I should take when using a sharpening stone?
Yes! It is important to wear protective gloves and safety glasses while using a sharpening stone. Ensure the stone is firmly secured to a work surface, and move the blade away from you when sharpening. Avoid over-sharpening, as this can damage the blade.
What alternative materials can I use as a substitute for sandpaper?
You can use different materials like corrugated cardboard or leather as a substitute for sandpaper for sharpening. Use a blade guide to maintain the sharpening angle for better results, and if desired, add polishing rouge to the leather for a professional finish.
How often should I sharpen my blades?
Sharpening your blades depends on how often you use them. Regular maintenance is vital to keeping them sharp. A helpful guideline is to sharpen the item after it has been used 10-15 times. You can also use a honing rod for regular maintenance between sharpenings.